Degree Project
Fluid mechanics: a VR learning experience

The Brief
This project centered around two main concepts. The first, learning through interaction, and the second, engagement of users with subject matter considered difficult to grasp. Virtual reality (VR) was chosen as the delivery method, because it allowed designing experiences that might otherwise not be possible. VR also allowed users to come at the material from the perspective of play, which has long been understood to increase learning and engagement. Fluid mechanics was chosen as the learning material, as it is considered among some of the most difficult to understand and engage with. With this subject matter selected, real-time fluid simulations were needed to make the experience respond to the user's actions in a realistic way. These choices made allow for a smaller learning curve with new users, by making the environment behave within a user's expectations.

The experience
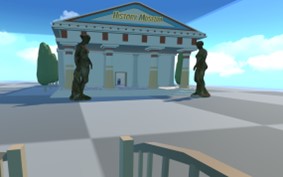
This VR learning experience teaches a user about fluid mechanics by having them explore the information through physical interaction. The first environment the user experiences, is a museum. This environment introduces some history on the topic of fluid mechanics and also serves as a tutorial for learning game actions. For this simulation, it mainly focused on two historical individuals and their contributions.
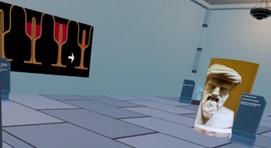
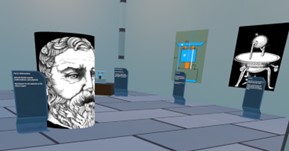
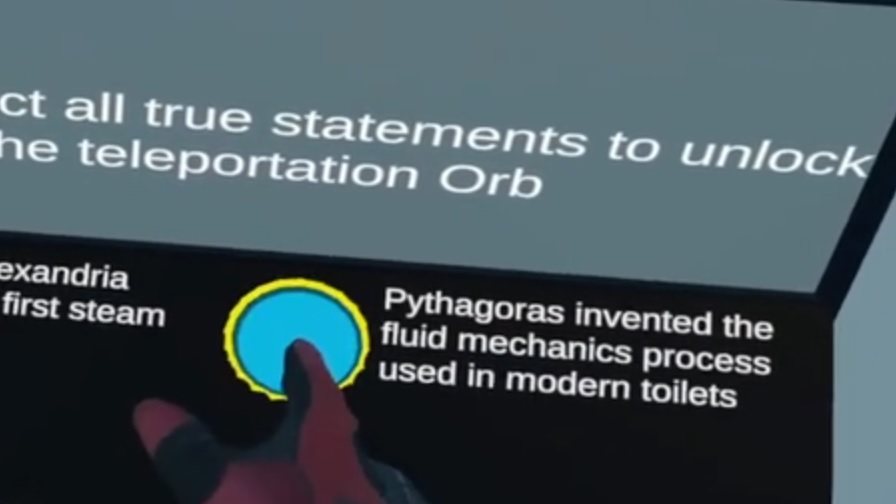
By exploring the room, the user can find the needed info to unlock the teleportation orb, that serves to transition the user to the next scene. The puzzle that locks the transition, serves two purposes. Firstly, to focus the user on what they need to learn, and secondly, to help transition the knowledge from short term memory to long-term memory. The next scene in the experience serves as a hub, connecting the user to the two labs that need to be explored and the end of the game. The user has a choice on which lab to experience first; buoyancy or viscosity.
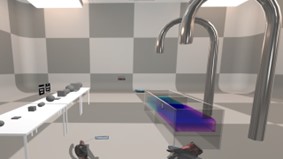
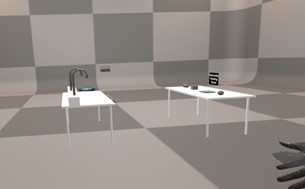
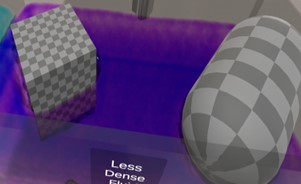
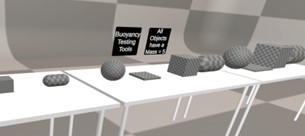
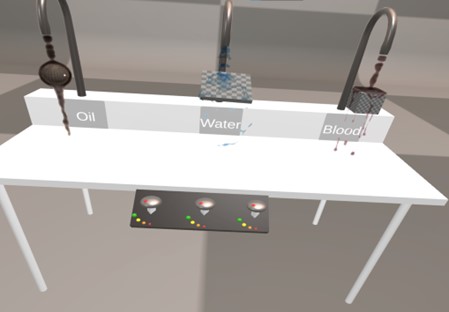
Once the user has selected a lab and transitioned to that scene, they are given clues as to what they are to learn. However, the way they carry out the experiment is up to them. For example, the buoyancy lab; the user is given two tanks of fluid and a series of shapes of varying size. Tanks are identified by colour and the words dense and less dense, while the shapes have been identified as having the same mass. Users can pick up the objects and freely move them about the room however they want. When the user places a shape in one of the liquids it responds based on its size and the properties of the fluid. For example, the largest object always floats, but the smallest of the same shape always sinks.
There is also another quiz that locks the exit of the lab with questions that can guide the user on what they need to do. By not being restricted in how to carry out the lab, the user is free to play with the tools given and discover the properties of the fluids. This makes the information more engaging and the knowledge more likely to last. After completing the museum and two labs, the user has enough knowledge to unlock the exit of the game and proceed to the credits.
Building Blocks
The learning experience was built using: Unity game engine, C#, and Obi Fluids physics engine. With Unity’s active community and visual editor, it was very easy to quickly prototype and test concepts to be implemented for the game. This allowed for more focus to be directed at designing the experience layout and resulted in a better play experience. The largest technical challenge of this project was managing the computational cost of expensive processes. While VR has come a long way in the last decade, it is still a very computationally demanding task. This is fundamentally because of the high refresh rate required in rendering. The high refresh rate is necessary to avoid creating simulator sickness in users of the experience. Accurate fluid simulations further Exacerbate computational load costs. The complexity of force change and particle interaction calculations, expands exponentially with every additional particle added to the simulation. Additionally, most physics engines take advantage of the optimised computational power of the computers graphic card to speed up calculations. However, this takes required compute cycles from graphics rendering. This can potentially slow down the refresh rate of the experience causing sickness.
hey
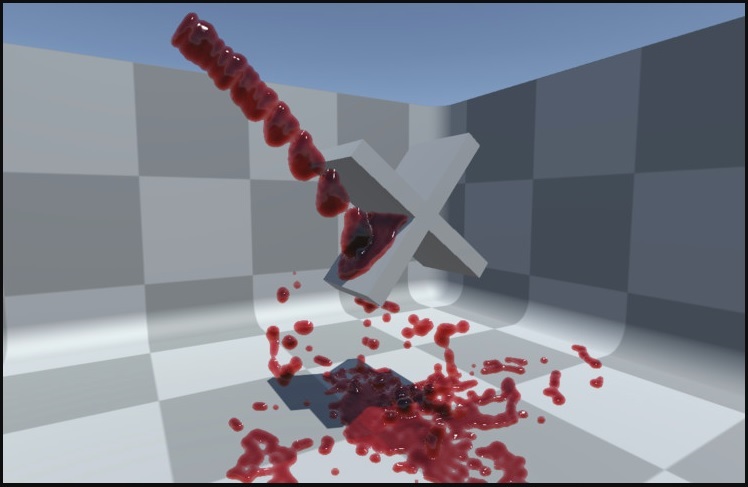
As real-time fluid simulations were fairly important for the accuracy of the user experience, a solution was required. Fortunately, the unity asset store had a fast optimised physics engine, which ran on the CPU. This physics engine was called "Obi Fluids", and allowed for the physics calculations to be solved in parallel to the graphics rendering. By separating these two systems, it was possible to avoid conflicts between the physics engine and animation rendering.
Tech Stack
- Unity
-
Cross-platform game engine
- C#
-
Primary programming language used to develop this application
- Steam VR
-
Steams proprietary VR plugin for streamlining VR development with unity and their API
- OBI Fluids
-
High speed Optimised physics engine that runs on the CPU
Simulation layout
The simulation was laid out as a series of seven scenes, three of which were fundamentally the game experience. The seven scenes were:
- Start Menu
- End Credits before completing the game
- Scene 1: Museum (game experience)
- Hub Scene
- Buoyancy Lab (game experience)
- Viscosity Lab (game experience)
- End Credits
User Interaction
One of the most exciting things about VR is the feeling of being transported somewhere entirely new. This feeling of presence is so powerful, that users often inherently, try to interact with the simulated world like they would with the real world. This makes object interaction a critical component for the plausibility of the experience. It also means that interaction techniques should closely resemble what someone would naturally do. For instance, reaching out and grabing a ball; these techniques are also the easiest for a user to learn and replicate. This understanding directed the interaction techniques developed for this simulation.
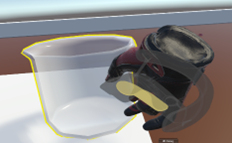
However, being a simulation, it was not possible to make all object interactable. As a result, interactable objects were not always obvious, and was necessary to include visual hints such as, an object highlighting when the users hand is near it.
Navigating the experience
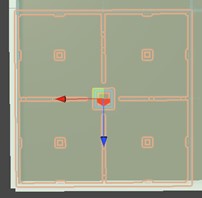
Often the best way to navigate a VR experience, is to allow the user to physically move as they would in real life. This is usually not possible, as it can not be guaranteed that a user will have the correct physical space, to fit the generated world. While this type of motion was included in this experience, it was expected that a user would primarily rely on teleportation to get around. This meant it was necessary to use visual elements such as, colours and a drawn line, to indicate to the user where they would be travelling to, and if they could.
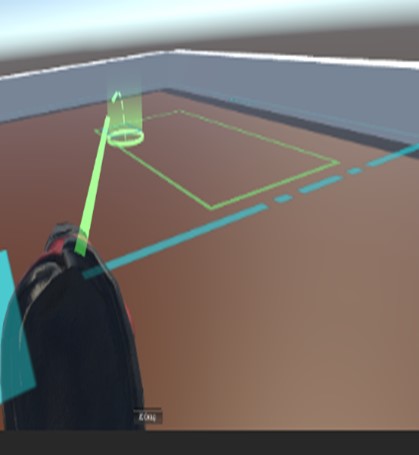
To enable this functionality, raytracing was implemented to calculate where the user wanted to travel to, and to correctly draw a line. A secondary element of a teleportation area was also implemented, to indicate travel areas and register the hit of the raytrace.
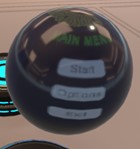
In addition to navigating the current scene, users also needed to progress to the next scene in the experience. This was done using a teleportation orb that displayed a simplified image of the next scene in its center. When a user picks up the orb and brings it close to their avatar, the screen begins to fade, to indicate a transition was occurring. If the user let go of the orb before the screen faded completely, they could avoid the transition. This was implemented using colliders that trigger the start and stop of a coroutine, which does the hard labour of changing the level.
Conclusion
The overall experience proved to be very successful with users tested. The experience was designed to be played in about 15 minutes, but often users would continue to play long after they had solved the lab. More encouragingly, many of the users exclaimed that they had learned something new through the process. Building this project was a lot of fun and I am very proud of how it turned out. If you liked reading about this project or have any questions, feel free to reach out with a message.